
Posts

How to Choose Smart Street Lights for Your Project in 2026

In 2026, choosing a Smart Street Light means planning a system, not simply replacing a lamp. A row of bright fixtures may look efficient, yet poor optics can spill light across bedroom windows or leave a crossing dim. Project teams need to balance visibility, energy use, maintenance, and future expansion.

The U.S. Department of Energy’s 2017 report, Adoption of Light-Emitting Diodes in Common Lighting Applications, describes the substantial energy-saving potential of LED street lighting compared with conventional technologies. But projected savings are not guaranteed. They depend on existing equipment, operating hours, dimming schedules, and local conditions. That distinction matters. A control system that looks impressive in a proposal can still add costs if its sensors, software, or network are difficult to maintain.

DOE’s Municipal Solid-State Street Lighting Consortium guidance also offers practical direction for specifying outdoor lighting controls. Use it alongside local lighting requirements and site-level measurements. Record current energy use, inspect pole spacing, and identify areas where glare or uneven coverage already causes concern. Then compare whole-life costs, connectivity options, data ownership, and repair arrangements—not just the fixture price. A pilot installation can reveal problems before hundreds of lights are ordered. It may also expose assumptions your team missed. That is useful, even when the result is inconvenient.

This guide explains how to assess those trade-offs and choose equipment that fits your project’s streets, budget, and maintenance capacity. The right choice is rarely the one with the longest feature list.
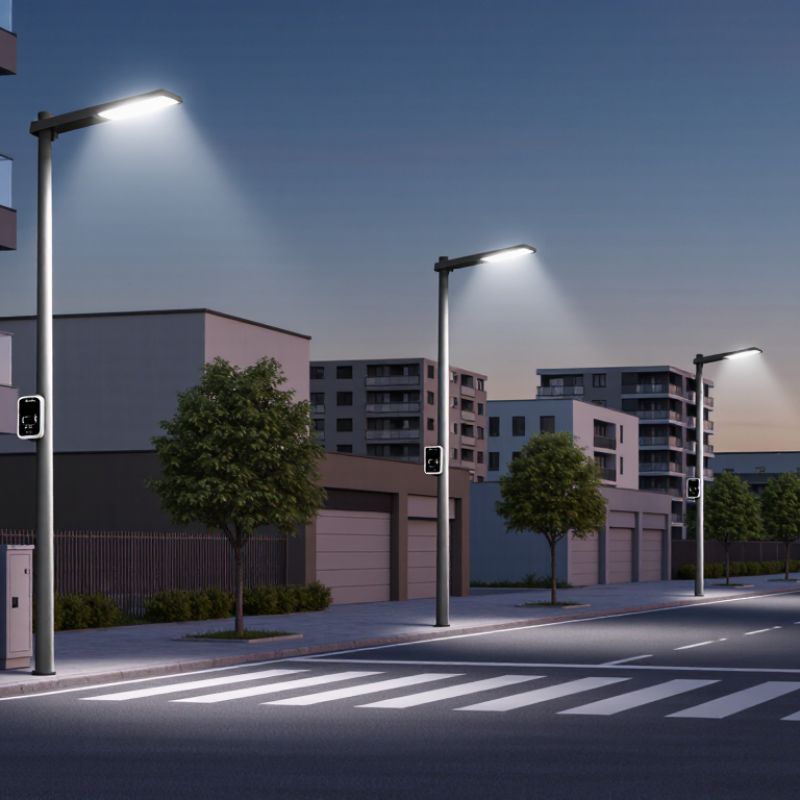
How to Choose Smart Street Lights for Your Project in 2026

Define Project Goals, Site Conditions, and Lighting Requirements

Before selecting smart street lights, define what the project must improve. Is the priority safer crossings, lower energy use, fewer dark stretches, or faster fault detection? Ask residents and maintenance crews; their accounts often reveal problems a daytime survey misses. Write down measurable targets, such as maintaining consistent visibility at a bus stop or reducing unnecessary overnight output. Keep goals specific. Start with people.

Site conditions change the design. Map road width, pole spacing, tree canopies, building setbacks, and reflective surfaces. Note where wet pavement, fog, or parked trucks alter light distribution. Visit after dark, preferably in more than one season. Measure existing illumination at crossings and along sidewalks, rather than judging brightness by eye alone. Check power access, communications coverage, and pole condition; a weak network can make remote controls unreliable. Measure after dusk.

Then translate these findings into lighting requirements: target light levels, uniformity, glare limits, dimming schedules, and response times for faults. Match controls to real use patterns, such as late buses or quiet residential hours. Specify how performance will be tested and who will review operating data. A plan can look precise on paper and still miss a shadow beneath a mature tree. Leave room to adjust settings after installation, but record each change and its reason. The first survey may be incomplete; verify conditions rather than guess.

Understand Smart Street Light Components and Control Technologies

How to Choose Smart Street Lights for Your Project in 2026

A smart street light is more than an LED fixture with a radio attached. Its core components include the luminaire, driver, controller, sensors, and a communications network. Match the light distribution to the road layout; a bright fixture can still leave dark patches between poles. Check the driver’s dimming range and the enclosure’s protection against rain and dust. Small details matter.

Control technology determines how the system responds after installation. A photocell can switch lights according to ambient brightness, while an astronomical clock follows local sunrise and sunset times. Networked controls can add scheduled dimming, remote fault alerts, and adjustments by street or zone. Occupancy sensors may reduce output on quiet roads, but their detection range needs testing in real conditions. Not always.

Before selecting a network, confirm how controllers communicate with gateways and management software. Ask what happens during an outage: lights should follow a defined local schedule rather than depend entirely on a live connection. A pilot on several poles can reveal uneven lighting, delayed commands, or inaccurate energy readings. Measure illuminance and uniformity at road level, then compare results with project requirements. One oversight is easy: teams may focus on control features and overlook how technicians will access and replace components years later.

Compare Energy Efficiency, Sensors, Connectivity, and Compatibility

How to Choose Smart Street Lights for Your Project in 2026
Compare Energy Efficiency, Sensors, Connectivity, and Compatibility

Compare complete fixture efficacy, measured in lumens per watt, rather than LED-chip claims alone. Request power readings at full output and at planned dimming levels. The U.S. Department of Energy’s 2017 analysis estimated networked lighting controls could reduce commercial-building lighting energy use by about 47%. Treat that as a benchmark, not a streetlight guarantee; roadway conditions and operating schedules differ. Small details matter. Ask for a proposed energy model using your actual hours, dimming profile, and maintenance assumptions.

Choose sensors for the street, not the brochure. Radar or other detection systems can trigger brighter output when vehicles or pedestrians approach, while quiet hours may allow lower levels. Test detection range on a real pole; parked vehicles, rain, and tree cover can affect results. Connectivity also shapes long-term costs. Compare mesh and cellular coverage, outage behavior, data access, and remote update procedures. Confirm that control nodes and luminaires share compatible interfaces, such as ANSI C136.41 or Zhaga-D4i, and verify requirements with the project engineer. A connector may fit but still lack the functions your system needs. Include a small field trial. It may reveal gaps in coverage, interoperability, or dimming response before a full rollout.

Assess Costs, Safety Standards, and Long-Term Maintenance

Start with the street, not the catalog. Map road width, crossings, tree cover, and pole spacing before comparing smart street lights. These details affect light output, mounting, and control settings. Request a photometric plan that shows uniformity, glare, and dark areas near crossings. A bright-looking lamp is not a measurement.

For a 2026 project, compare total cost, not just purchase price. Include installation, energy use, communications fees, software support, and likely component replacements. Ask suppliers to document compliance with applicable electrical, roadway-lighting, and product-safety requirements in your location. Check test reports and warranty terms; a vague claim of compliance is hard to rely on. Small details matter. A control system that dims lights too aggressively may save power but leave a walkway uncomfortable or poorly lit, so define acceptable operating levels and test them on site.

Plan maintenance before installation. Confirm whether crews can replace a driver or sensor without removing the whole fixture, and whether spare parts will remain available. Record pole locations, settings, and commissioning results in a shared maintenance file. Ask how faults are reported and what happens if network service drops. That answer is easy to overlook. I would not assume every connected feature will prove useful; some projects may be better served by simpler controls, and the right choice can become clearer only after a small pilot.

How to Choose Smart Street Lights for Your Project in 2026 — Assess Costs, Safety Standards, and Long-Term Maintenance

Planning guide for municipal and roadway projects. Cost figures below are indicative 2026 U.S. budget ranges in USD, not supplier quotations; actual costs vary with pole condition, roadway class, labor, controls, and project scale.

Decision Area Planning Benchmark What to Verify Long-Term Project Impact
LED luminaire and controls Budgetary allowance: approximately $250–$900 per LED roadway luminaire and $40–$150 per control node, before installation. A central management platform may have a separate recurring fee. Compare delivered luminaire output, input wattage, optical distribution, dimming support, warranty, and whether the price includes a control receptacle or node. Compare total cost of ownership, not fixture price alone. Include installation, communications, software, energy, repairs, and replacement parts.
Installation and commissioning For budgeting, allow approximately $150–$600 per existing pole for a straightforward luminaire retrofit. New poles, wiring, traffic management, or difficult access can raise costs substantially. Confirm whether the scope includes lift equipment, electrical work, pole inspection, aiming, network setup, system testing, and disposal of old equipment. Site surveys and commissioning reduce the risk of unplanned civil work, poorly aimed lights, and control-system outages.
Lighting design and road safety Specify lighting performance by road classification and applicable design criteria; there is no single illuminance target suitable for every street. Request a photometric layout showing maintained illuminance or luminance, uniformity, glare, light trespass, mounting height, spacing, and dimming levels. Review against the applicable edition of IES RP-8 and local requirements. Good optical design can improve visibility while avoiding unnecessary energy use, glare, and spill light. Validate dimmed settings in the field.
Electrical and product safety Use luminaires and components evaluated for the intended roadway application and local electrical code. Check applicable product listings and requirements, such as UL 1598 for luminaires where relevant, and confirm electrical ratings, grounding, surge protection, and installation instructions. Documented compliance and correct installation support safe operation and simplify inspection, insurance, and maintenance procedures.
Controls interoperability A 7-pin control receptacle conforming to ANSI C136.41 can support dimming and control connections when matched with compatible equipment. Verify the receptacle, control node, driver, communications protocol, and management software work together. Confirm data ownership, APIs, security updates, and export options. Interoperability helps avoid dependence on a single control component and can make future upgrades or supplier changes easier.
Ingress protection and environment Choose enclosure protection and materials for the actual exposure to rain, dust, salt, heat, cold, and vibration. Check the stated IP rating under IEC 60529, operating-temperature range, corrosion protection, wind loading, and suitability for the local climate. Appropriate environmental ratings reduce premature failures, especially in coastal, dusty, or extreme-temperature locations.
Energy and dimming strategy Estimate energy use from measured input watts, annual operating hours, and the proposed dimming schedule. For example, 100 W operating for 4,000 hours uses 400 kWh per year before dimming. Obtain a documented schedule, confirm safe minimum output, and check that photocells, clocks, sensors, and remote commands behave as intended. Energy savings depend on the baseline fixture, operating hours, tariff, and actual dimming levels; use measured or commissioned settings in forecasts.
Service life and maintenance Compare rated LED life using a defined lumen-maintenance metric, such as L70, rather than treating a rated-hour figure as a guaranteed fixture lifetime. Review luminaire and driver warranties, replaceable components, spare-parts availability, maintenance access, and the control node’s separate warranty. Plan for cleaning, inspections, driver or node replacement, software support, and failures over the project life—not only LED module aging.
Cybersecurity and data Require documented access controls, secure communications, update procedures, and an incident-response process for connected equipment. Ask how devices are authenticated, how vulnerabilities are handled, how long security updates are provided, and who can access operational data. Clear security responsibilities reduce operational risk and help maintain the system through software and network changes.
Project evaluation Compare options over a consistent study period, commonly 10–20 years for a planning analysis, using the same discount rate and energy-price assumptions. Include capital cost, energy, maintenance, communications, software, replacements, and end-of-life costs. State assumptions and test energy-price and failure-rate scenarios. A transparent lifecycle-cost model makes alternatives comparable and shows which assumptions have the greatest effect on payback.

Standards and code requirements vary by jurisdiction and may be revised. Confirm the adopted editions and project-specific requirements with the responsible authority and a qualified lighting or electrical professional before procurement.

Plan Installation, Integration, Testing, and Future Upgrades

Choosing smart street lights for a 2026 project starts with the street, not the catalogue. Measure pole spacing, mounting height, road width, feeder capacity, and nighttime activity. Map dark patches and glare complaints before selecting optics or control features. Set measurable targets for visibility, energy use, and outage response time. Small details matter.

Plan installation around traffic, bucket-truck access, and safe isolation of each circuit. Check pole condition and cable routes; a new luminaire cannot fix a weak pole. Confirm that the lighting system can share schedules, alarms, and energy data with existing platforms. Document interface requirements and who controls settings before crews arrive. That is useful.

Test a small group on different street types before full deployment. Verify dimming schedules, sensor response, communications after power interruptions, and fault alerts. Record readings at the cabinet and on the roadway, then compare them with project targets. Leave room for replaceable communication nodes, software updates, and future sensors. Ask about support periods and upgrade costs; these details are easy to overlook. Plans can look tidy on paper and still falter at handover, so rehearse commissioning and leave time to correct unexpected issues.

How to Choose Smart Street Lights for Your Project in 2026

Use the applicable road-lighting class to guide luminaire selection, installation, and testing. The chart shows maintained average road-surface luminance values for EN 13201 M classes; confirm the requirements adopted in your region before design.

Source: EN 13201-2:2015, M-class maintained average luminance requirements. Smart controls and future upgrades should preserve the required lighting performance.