
Posts
How to Choose the Best Analytical Balance for Your Lab
Choosing the right Analytical Balance is not a catalog exercise. It affects sample quality, repeatability, and confidence in reported results. A 0.1 mg reading can matter when a technician weighs a small reference standard or prepares a concentrated solution. The wrong capacity, draft shield, or readability can quietly add uncertainty.
Professional guidance offers practical benchmarks. USP General Chapter <41>, “Balances,” sets a repeatability criterion: twice the standard deviation must not exceed 0.10% of the smallest net weight. Its test uses at least ten repeated measurements. That threshold turns “good enough” into a checkable requirement. NISTIR 6969, “Selected Laboratory and Measurement Practices and Procedures to Support Basic Mass Calibrations,” provides guidance on mass calibration. EURAMET Calibration Guide No. 18 addresses calibration of non-automatic weighing instruments. These references help laboratories connect instrument specifications with real procedures.
Yet a specification sheet cannot predict every bench. Air currents from a nearby vent, vibration from a centrifuge, or a warm weighing vessel may disturb readings. A balance with finer readability is not automatically the better choice. Consider expected sample masses, required uncertainty, daily workload, available space, and service support. Then verify performance under the conditions where weighing will occur. Easy to overlook. Even experienced teams may underestimate routine handling effects. This guide explains how to compare capacity, readability, repeatability, calibration features, and usability, while noting where selection still requires judgment. A careful choice starts with the task—not the most impressive number on the display.
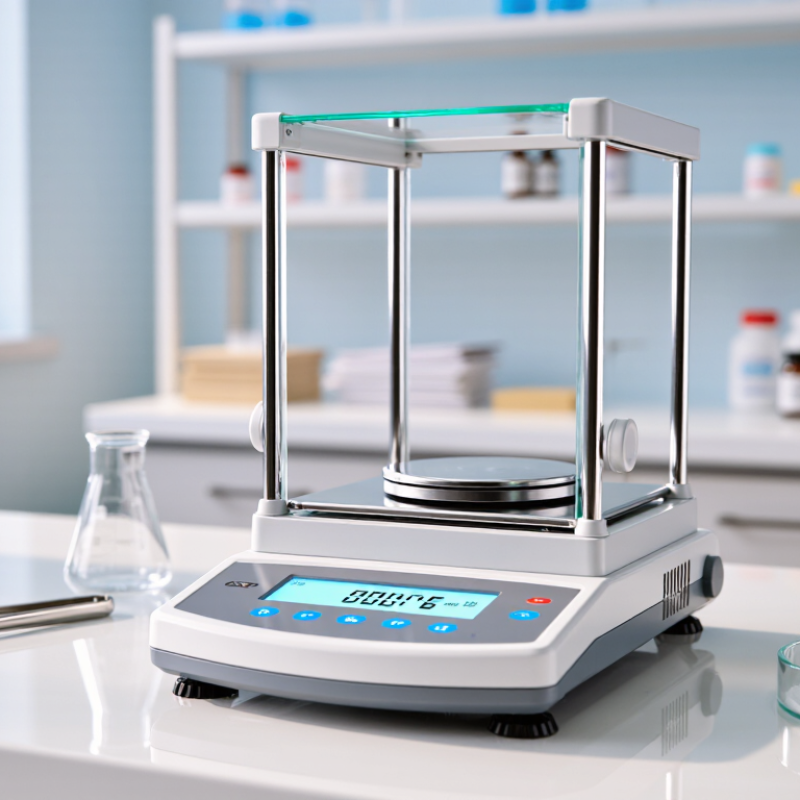
Define Your Laboratory’s Measurement Needs and Required Readability
Begin with the smallest net sample your lab routinely weighs, not the balance’s maximum capacity. A 200 mg powder portion placed in a drafty hood behaves differently from a 20 g vessel on a stable bench. List typical sample masses, container sizes, and tolerances. Then select readability—the smallest displayed increment—with those tasks in mind. A 0.1 mg display may suit many routine milligram-level weighings, but it does not guarantee that every result is accurate to 0.1 mg. A tidy specification sheet can still mislead.
For compendial weighing, USP General Chapter <41>, Balances, provides a useful benchmark: repeatability standard deviation should not exceed 0.10% of the test weight. It also defines minimum weight as 2,000 times the measured standard deviation. For example, a standard deviation of 0.05 mg gives a calculated minimum weight of 100 mg. This makes repeatability testing relevant to your actual sample range. These criteria are not a substitute for checking your lab’s specific method or quality requirements.
Tips: Weigh a representative sample several times under normal room conditions. Watch the final digits settle; note drafts, vibration, and static. Compare observed repeatability with your required tolerance before choosing finer readability. Finer is not always better. If the readings drift, investigate the setup before blaming the balance.
Compare Capacity, Repeatability, and Measurement Accuracy
Choosing an analytical balance starts with the samples you actually weigh. Compare the required capacity with typical sample mass, containers, and any accessories placed on the pan. A balance operating near its maximum load may not suit every workflow. Leave enough capacity for the heaviest routine measurement, but avoid choosing a model so large that its readability no longer meets your needs.
Repeatability describes how closely repeated measurements agree under the same conditions. Test it with a stable reference mass, removing and replacing it several times. Watch for drafts, vibration, and temperature changes; even a nearby door can affect a sensitive reading. Accuracy is different: it concerns how close a result is to a known value. Fine readability alone does not guarantee accuracy. Regular calibration and good weighing technique matter, too. In practice, technique is easy to overlook.
Tips: Check the balance’s specifications against your smallest and largest samples. Use a level, draft shield, and clean weighing pan. Record repeatability checks over time, rather than relying on one successful measurement. If results drift, investigate the room and handling before assuming the instrument is at fault.
Assess Environmental Conditions and Balance Installation Requirements
Before choosing a balance, check the room where it will live, not just the model’s specifications.
These are not universal operating limits, but they show why temperature and moisture belong in the installation plan. Keep the balance away from sunny windows, air-conditioning vents, and doors that open often. A slight draft can disturb the reading. So can a warm hand resting on the bench.
Choose a rigid, level bench with minimal foot traffic; a heavy stone surface can help reduce vibration. Place the balance away from centrifuges, pumps, and refrigerators, then check that its leveling indicator stays centered.
Keep the area clear. Dust and spilled powder around the pan can complicate cleaning and produce inconsistent results. Let the instrument acclimate after installation or relocation, and record room temperature and humidity during routine checks.
Real rooms are messier. If readings drift, review airflow, vibration, and temperature changes before assuming the balance is faulty. One overlooked vent may matter more than an expensive room upgrade.
Evaluate Calibration, Weighing Features, and Data Connectivity
Calibration quality should be judged under the conditions your lab actually uses. Check whether the balance supports internal adjustment, external calibration with traceable weights, and clear records of each event. USP General Chapter <41> sets a 0.10% limit for repeatability and accuracy in covered weighing applications. Treat that figure as a useful benchmark, not a substitute for checking your own procedures. A drafty bench, warm samples, or a balance that is not level can still shift readings. Small details matter. Ask how the instrument signals drift, and whether staff can verify performance before critical weighings.
Weighing features should fit your smallest routine sample, not just the largest capacity on the specification sheet. Look for a stable-read indicator, adjustable filters, and a draft shield that opens easily with gloved hands. Connectivity deserves equal scrutiny. Confirm that exported records include the value, unit, timestamp, sample identifier, and balance identifier. Check whether the data move directly into your laboratory system, or require manual transcription. One awkward truth: connectivity can make errors travel faster. Test the complete workflow with a real sample and a deliberate interruption, such as a disconnected cable. It may feel fussy, but the resulting record shows where gaps appear.
How to Choose the Best Analytical Balance for Your Lab
Compare calibration, weighing performance, and data connectivity when assessing a balance for your workflow.
Example planning ratings on a 1–5 scale, where 5 means highest priority. Confirm readability, capacity, calibration options, repeatability, and interface compatibility against your samples and laboratory procedures.
Review Compliance, Maintenance, and Long-Term Operating Costs
Before comparing analytical balances, define the work they must support. List required readability, capacity, and weighing procedures, then check whether calibration records and service documentation meet your lab’s quality system. Requirements vary by application and location, so confirm them with your quality lead. Small details matter. A balance used for routine formulation may need different records from one supporting tightly controlled testing.
Maintenance affects both measurement quality and daily workflow. Check how often calibration is recommended, whether service can be scheduled locally, and what routine checks staff must perform. A level indicator, draft shield, and clean weighing pan are easy to overlook. Dust near the pan or a door left open can cause unstable readings. Keep a written log of checks, adjustments, and service visits. It may feel like extra paperwork, but it helps reveal recurring problems.
Estimate long-term costs, not just the purchase price. Include calibration services, replacement parts, staff training, and downtime while the balance is unavailable. A lower-priced model can cost more if support is slow or required checks are difficult to perform. Still, extra automation is not automatically worth paying for; match features to real procedures. Teams sometimes assume maintenance will be simple, then discover that no one owns the schedule. Assign responsibility before installation, and review the plan after the first few months.
